
 Sarah
SarahBack in the days when I just started with Instagram, a friend approached me and said: “I think I figured it out – we need to buy presets!” We had been talking about what we could do to improve our Instagram feed and make it (even 😉) more beautiful.
I did it and spent some money on another Instagram Girls preset packs. And it worked – my feed looked much better (if you go back on my Instagram feed you will probably figure out when 🙂 ). And I could see my followers starting to comment “on the pretty colors of my pictures”
But I wasn’t entirely satisfied yet. If you know me, I am a perfectionist. AND I had already been editing with Photoshop for years, so I wasn’t a newbie. But still it took me quite a while to get the grip on really archieving the look I was craving for.
At one point my followers were starting to ask me how I edit my pics and which presets I am using. At that point I was already only using my own presets. And then I realized that I should really start selling mine too.
However, I don’t want to simply sell you something you don’t really understand. This is why I want to clarify what Lightroom presets are actually and what they are NOT.
First, let me make this absolutely clear:
Pin this for LAter
What is Adobe Lightroom?
Adobe Lightroom is a software provided by Adobe Systems Incorporated and it is geared towards photographers. Probably every of you know Photoshop (also by Adobe) – Lightroom is like “the little brother” to Photoshop! It comes with less functions but is way easier to use and very quick at bulk editing pictures. And over the years, Lightroom has grown that big, that there is literally no real alternative to it!
Lightroom CC (CC stands for “Creative Cloud” and is their cool online photo storing solution) comes as a mobile app for Android and iOS and as a desktop version for Windows and Mac.
The really cool thing about the Lightroom app is, that it is actually for free! I have been using the Lightroom app for months (after trying alternatives like VSCO and Snapseed) before I switched to the desktop version.
The desktop version is actually NOT for free – but it’s a step almost everyone goes at one point. The reason is, that editing is much simpler on a computer and it also gives you the option to edit RAW files from your camera. It’s not cheap (15$ a month with the yearly subscription) – but totally worth it in my opinion! I am using the yearly subscription of Lightroom CC (without photoshop) with 1TB of data. Thanks to Creative Clound, the photos I edit on the computer are also always synced to my phone and I can easily share them to Instagram from mobile when I am not at home. I am a chaotic person – so this is definitely something for me 😀
So what's Lightroom Presets and how do they work?
To understand, how presets works, we need to look a little bit into how Lightroom actually works.
Simplified, there are sliders for e.g. “Brightness”, “Contrast” or “Saturation”. A preset just contains a numbered value for each of the available sliders. A simply presets could thus just include the info “Brightness +15”, “Contrast+10”, “Saturation-20”. Depending on the preset, there is no information on the other sliders included or they are set to “+/-0”.
Where presets get really interesting, is when they contain information about a lot of slider – like the sliders for specific colour ranges! This is actually why presets CAN help you achieve a more consistent look on your Instagram feed. Good presets (and the big accounts do sell some really good presets!) contain information for (almost) all colour ranges and some info on lights, shadows, details and possibly geometric transformation.
Let’s look at the color range sliders closer to understand why they can provide consistency! In Lightroom there are three separate sliders (Hue, Saturation and Luminance) for eight basic colour ranges (red, orange, yellow, green, turquoise, blue, purple, magenta).
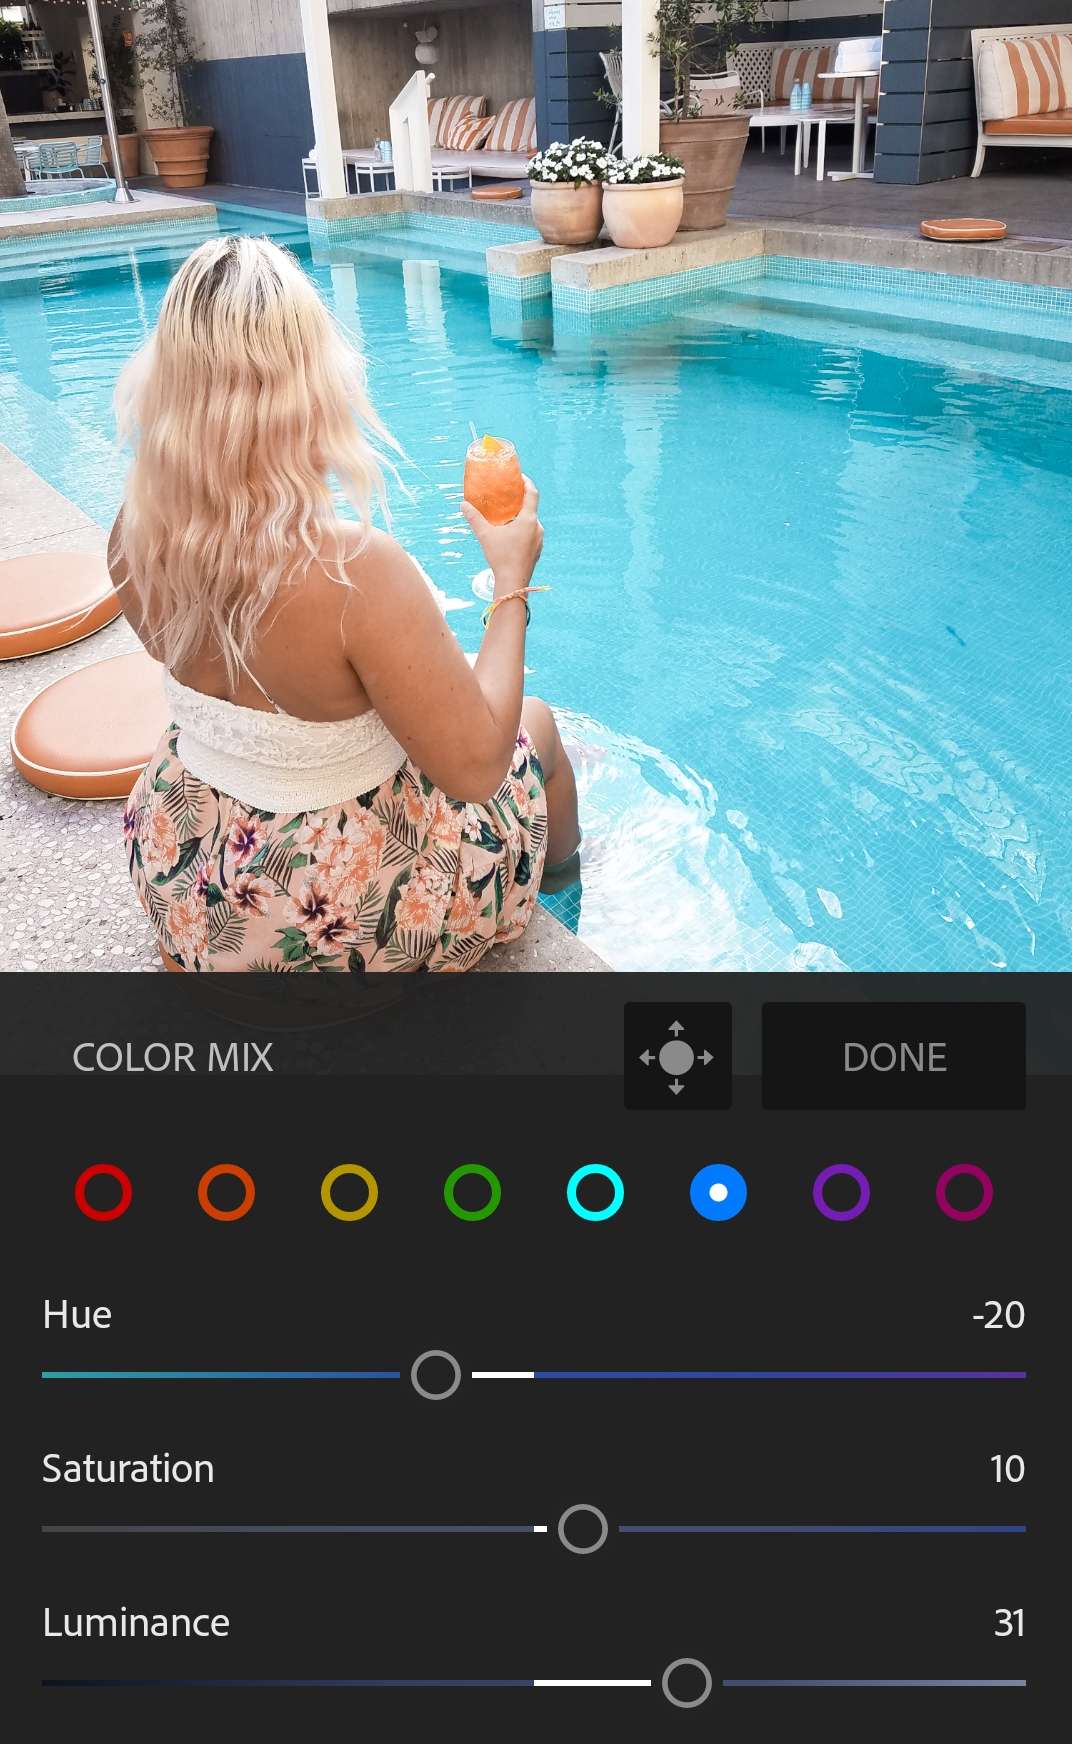
If you want to have a beautiful bright turquoise as a predominant colour in your pic, a presets might include information like this:
- Turquoise: Color +/-0, Saturation +20, Luminance +15
- Blue: Color -30 (towards turquoise), Saturation +25, Luminance +30
- Green: Color + 15 (towards turquoise), Saturation -10, Luminance +15
- +Additional info on the other colours and on general settings
This way, blues and greens would be transformed towards turquise and different pictures would actually show similiar turquoise colors!
However, some of your pictures might be darker and some might be brighter – the same preset mentioned above won’t change that. So either you have two presets (one for bright and one for darker pictures) or you need to adjust the settings in order to make your feed look consistent! The same problem goes for two differently saturated pictures. And then the colours in the pic might be simply too different as well.
Read: Why you need a preset pack to easily edit the perfect Instagram picture
Watch me edit one of my Pictures from scratch!
So, here's my short verdict on Lightroom Presets for Instagram!
So, what does a good Lightroom preset do for you?
- It gives you a quick start into a more consistent look for your Instagram feed
- It helps you learn, how Lightroom works (by comparing the sliders between the different presets in one pack)
- It will save you time editing your pics (LOTS of editing and learning time)
And what does it not do?
- Make a blurry or completely under/overexposed picture look awesome (although you can really do a lot)
- Give your Instagram feed a super consistent look just by one click on one preset all the time (read here why you need a preset pack for this and not just a single preset!)
So, to keep it short: yes, presets will help you save time! Especially when you are editing similar pictures (when doing a photoshot in one location) they can really give that “One-click wonder”.
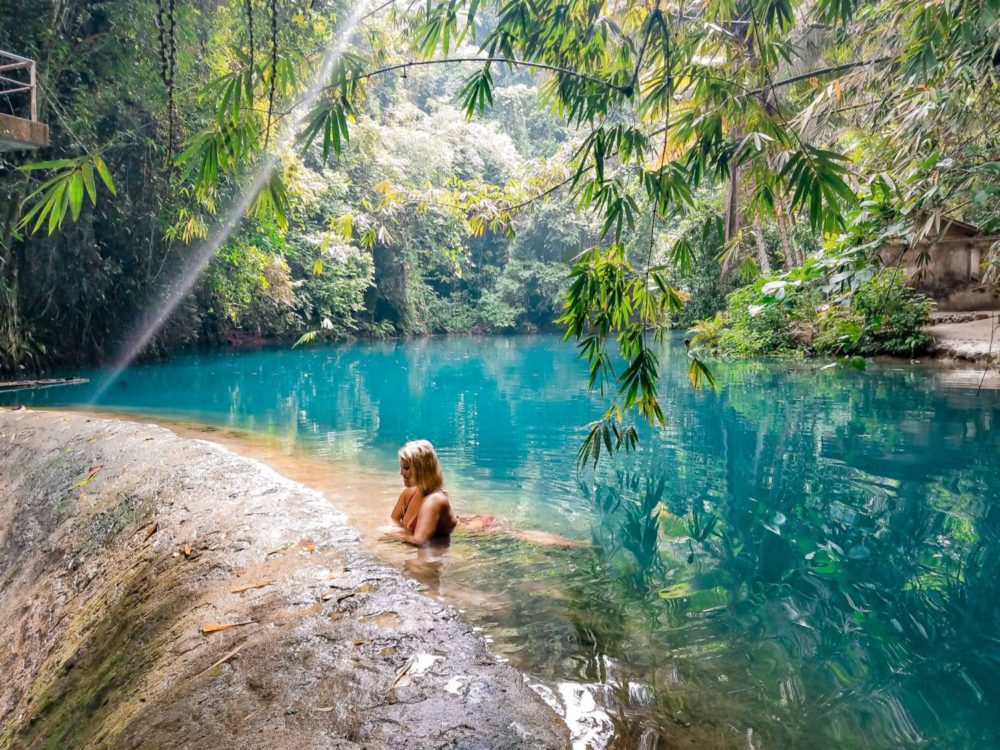
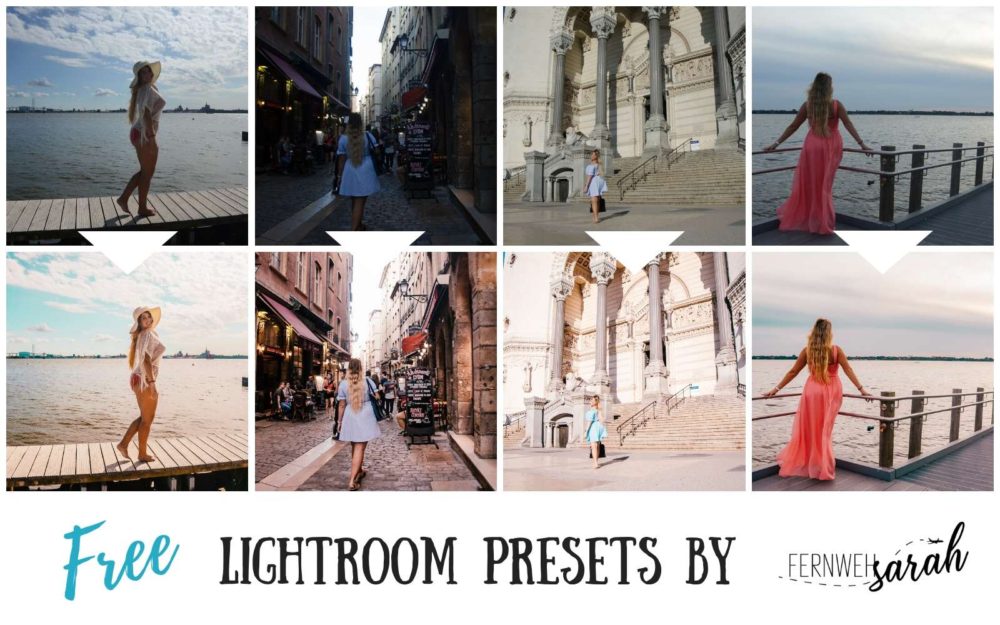
Below is one of the pictures I edited with my own preset – and I love the results it gave on this dark pic without any further editing!
Is it worth spending 40$+ on a preset pack?
Well, that depends both on your expectations and your willingness to spend more time with Lightroom.
If you have the time and the passion to learn how to use Lightroom – then go for it! It’s an awesome tool and after a few months you will get the grip on editing with the many sliders that Lightroom has to improve your pictures. I did this myself – but I had already been using Photoshop (and Gimp) for years before and this definitely speeded up the process of learning how to edit. In this case you should really get the desktop version (15$/month) though!
But if you want to speed up the process and quickly make your Instagram feed look pretty (and this means, consistent!) and you do NOT know about editing – then YES, it is well worth your money to invest a few dollars into Lightroom presets. After all, a single collaboration on Instagram can easily pay out the whole investment.
And here’s the good news: My presets don’t even cost the 40-60$ per pack that many girls now charge on Instagram (not saying it’s not worth it – I just felt that I want to make them more affordable!). Below, you can find my very own Lightroom presets that I use to edit all my pictures on my Instagram feed! All of them work with the FREE Lightroom mobile app!
Shop my own Lightroom Presets (Mobile + Desktop)
Try a few of my own free lightroom presets!
If you are still unsure if Lightroom and my Presets are “your thing” – I would suggest you do the following:
- Download the free Lightroom app and play around with it
- Get my free presets and see if you like them (I am sure you will!)
- And if you like them: Come back and get a full pack of my presets – or even the ultimate bundle!
Yes, you read right – I released some of my very own free lightroom presets for you! When using them, you can check if presets are, what you think they are. And you can see if you like what mine can do to your pictures!
Read about how to get a few of my Lightroom presets for free here: Free Lightroom Presets for Instagram – get my presets!
How Did you like this post?
How did you like this article? Let me know in the comments below!
And if you have not yet subscribed to my newsletter – how about doing this now?
I promise that I won’t spam you – but you will always be the first to know about my next destination guides or Lightroom and Instagram tipps! Plus, you will get access to my exclusive and free member’s area! That’s where I share lots of invaluable additional content with you – like my hashtag list for Instagram!